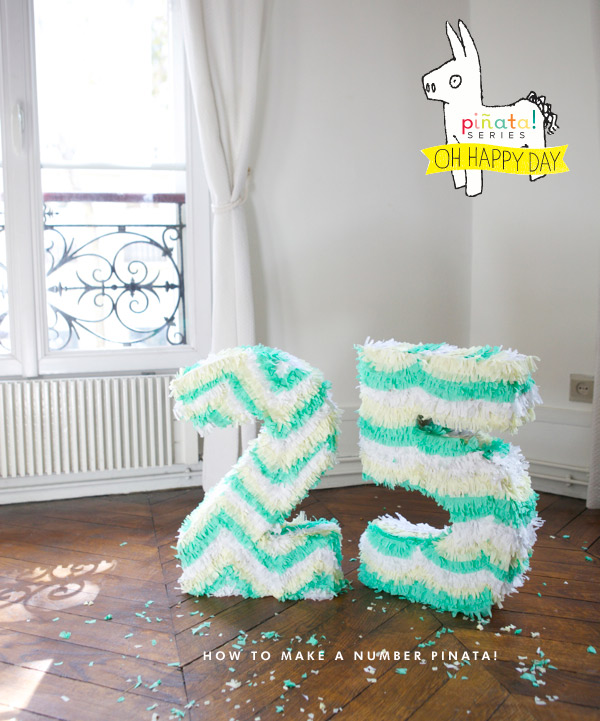
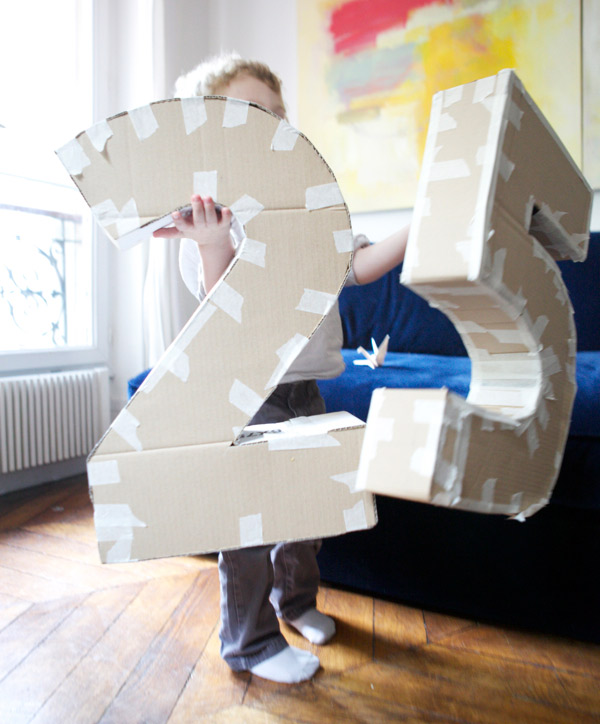
I’m starting a new series on Oh Happy Day on how to make different pinatas! Today’s pinata DIY is how to make a number pinata, though this could easily be a letter if you wanted to spell out a (short) message. This was a very fun project to do! Pinatas are so great and you really don’t have to wait for a party to make one. I love the idea of giving someone a pinata and filling it with their favorite things. But be careful, these pinatas are so pretty its tempting not to break them and just let them hang pretty in the corner. DIY instructions below.
Materials needed: Cardboard, Exacto, Pen, Ruler, Tape, Crepe Paper, Glue
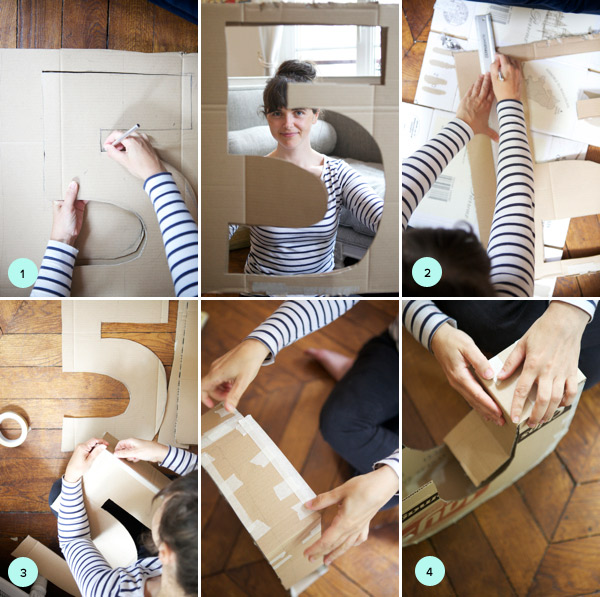
1. Making the structure. Stack two pieces of cardboard together. Draw your number and then cut through the two layers of cardboard at the same time. (Be sure to put some layers below them so your floor doesn’t get cut too! Our pinatas were about 20″ tall.
2. Cut strips of cardboard for the edging. Our strips were about 4″ thick.
3. Taking the strips tape together the top and the bottom piece on the seam. Reinforce it on the top and also on the inside.
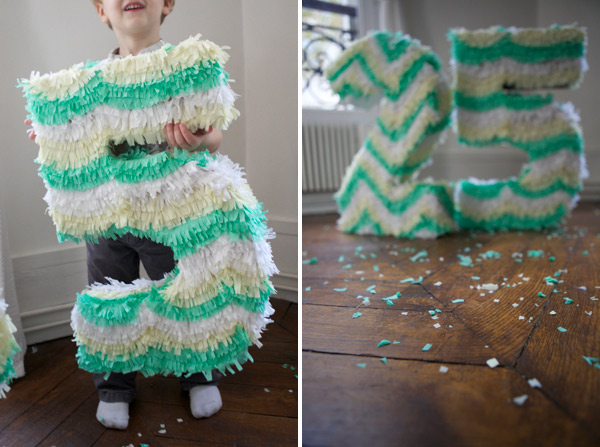
4. When you get to an edge just make a crease in the cardboard so it bends easily. Making the structures is really easy and took about 20 minutes. These held together well after getting beaten with a stick but if I was making this for adults I would reinforce it with another layer or two of paper and glue. (Just apply glue to strips of paper and wrap the structures to give it extra support.)
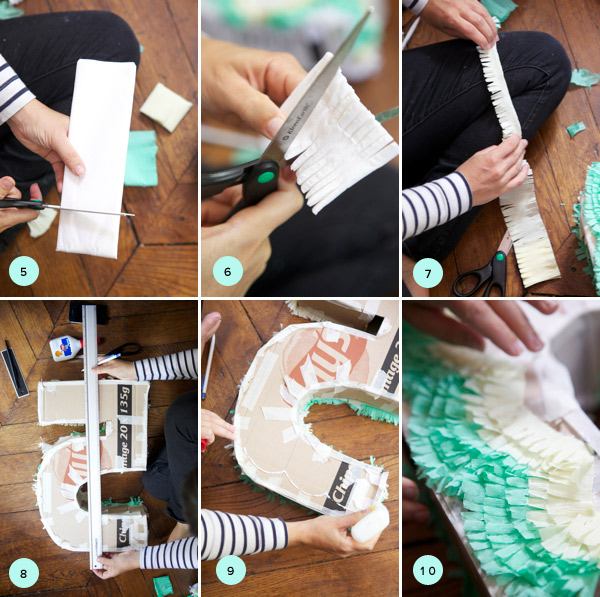
5. Decorating takes longer especially if you are doing a design. Take the crepe paper and make some fringey garland. (I explain in detail how to do that here.) First cut a strip of crepe paper about 3″ thick.
6. Cut each side of the strip into little pieces of fringe.
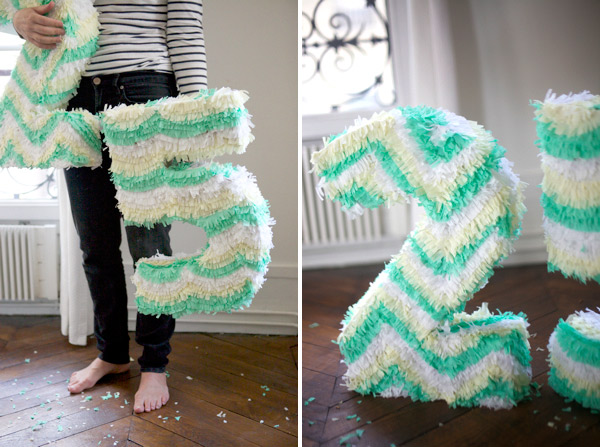
7. Unravel it and fold it in half so it is ready to glue.
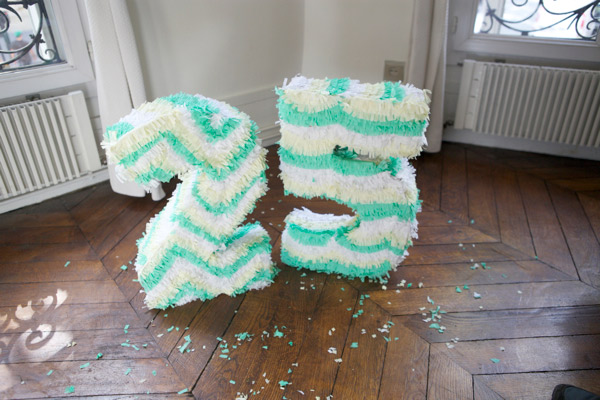
8. I made a zigzag design and a scallop design for these two numbers. To maintain the design I drew lines on the number depending on how far apart I wanted the zigzags or scallops and then used that as a guide as I laid down the fringe.
9. Start at the bottom and draw the design in glue. Take the fringe and put down a layer.
10. Repeat adding glue and then another layer of fringe on top until your design is done. This part takes a while so best to put on some Friday Night Lights in the background since its a little mindless (and definitely goes quicker with a helper.) It’s nice because the fringe looks messy so it is really forgiving if you lay something down kind of crooked.
11. Cut a section at the top too add candy and then repair with paper, glue crepe paper. To hang cut two holes at the top and thread string through.
HAPPY PINATA-ING!

No comments:
Post a Comment